
Advice on MAYA #TopTip
- Behind the Scenes
- Tutorials
- Posted by Anahita Tabarsi on May 12 2015
Share Tweet
Into animation? Here's a #toptip from the studio via our animators Mark Rusk and Scott Ramsay - this one is on using Maya.
Mark Rusk: For Maya beginners I would advise getting to grips with the basics by going through the really basic tutorials provided with the package.
That means really getting comfortable with things like translating/scaling/rotating, using the camera, setting keys etc.
It’s an enormous program so overall the main advice I would give would be to take it slowly so it doesn’t overwhelm.
For more advanced Maya users I would advise to improve your workflow, customize as much of your experience in Maya as is possible, be it your UI, hotkeys, and most often used tasks using either the tools within Maya, or using third party scripts available online.
In the example below, you can see the simple task of moving keys in Maya. Without a script the process takes significantly longer, i.e. the animator uses the mouse to identify, select, and modify the key frame information - slowwwww!
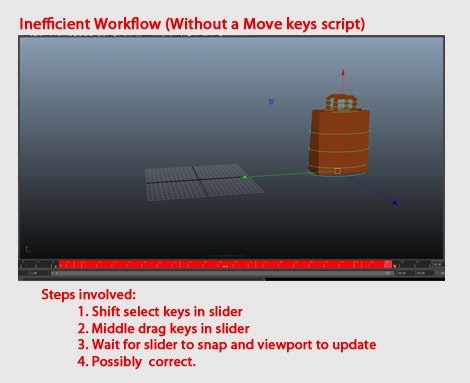
The use of a third party script instead, allows single keyboard taps to make precise, immediate changes in the graph editor. These little savings can shave as much as hours off a single shot!
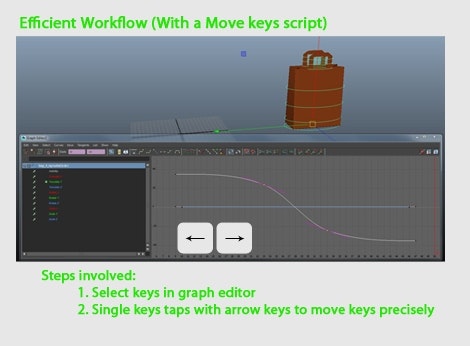
Check out the workflow scripts of Aaron Koressel as a great example of what's available online: http://aaronkoressel.com/index.php?nav=tools
Scott Ramsay: When using Maya, I would suggest getting the scene ready so it runs fast and you can get to everything you need quickly. Customize your layout and turn off anything you don’t need.
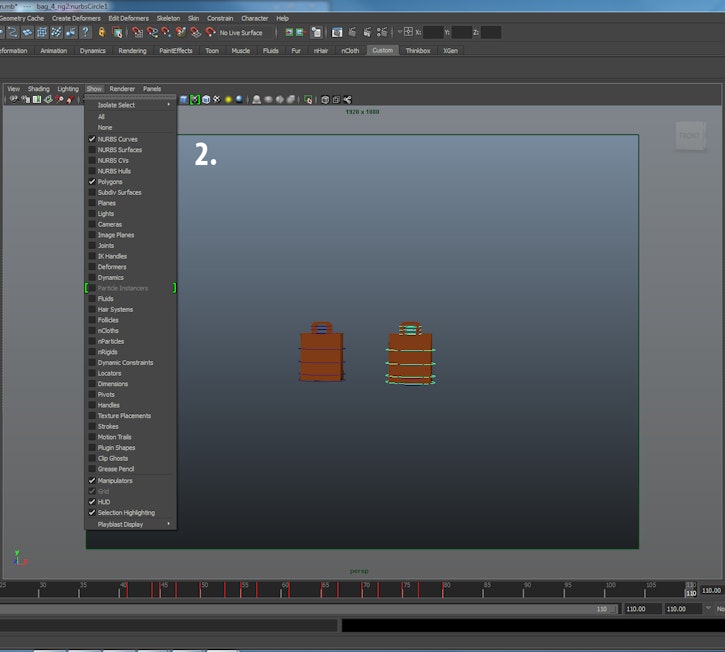
Generally the only things you need visible are Polygons and Nurb Curves.
Have a panel with your camera view, another with perp and have the graph editor open. Then it's just a case of learning a few useful hotkeys.
Here's a quick look at my screen layout:
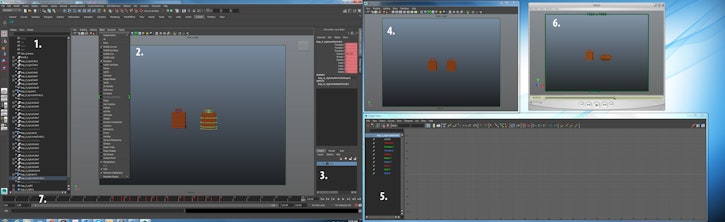
Closeup of all the various components below:
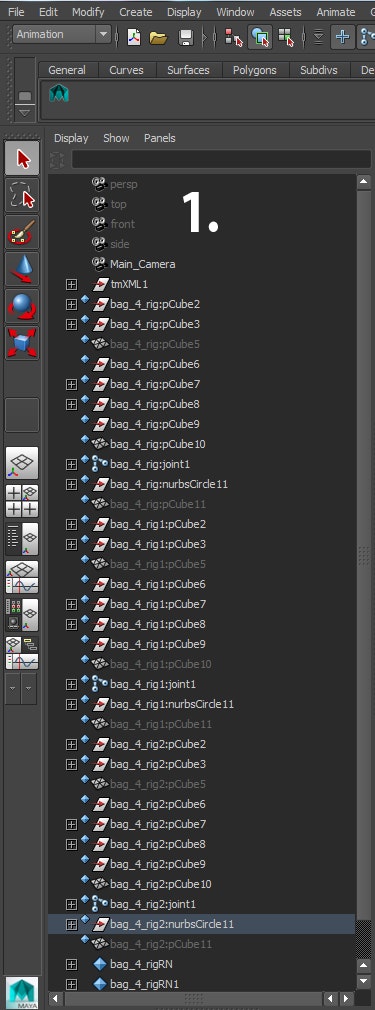
1. Outliner - so you can easily select a whole object.
2. View Port Perp - so you can move about the scene, turning off everything you don't need.
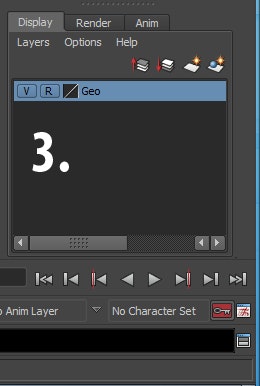
3. Layers - create a layer for each character/object so you can hide them when not needed.
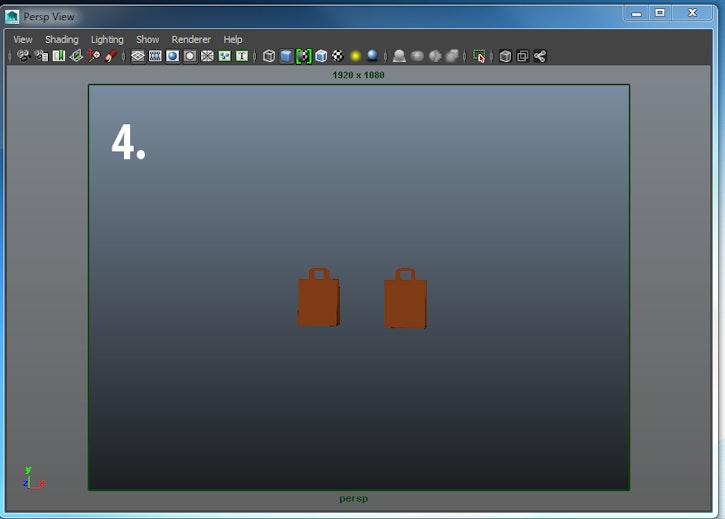
4. View Port Camera - The view from the final camera, the camera should be locked.
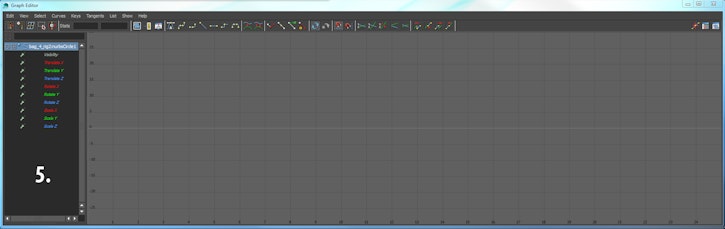
5. Graphic Editor - so you can see how things are moving and easily change them when needed.
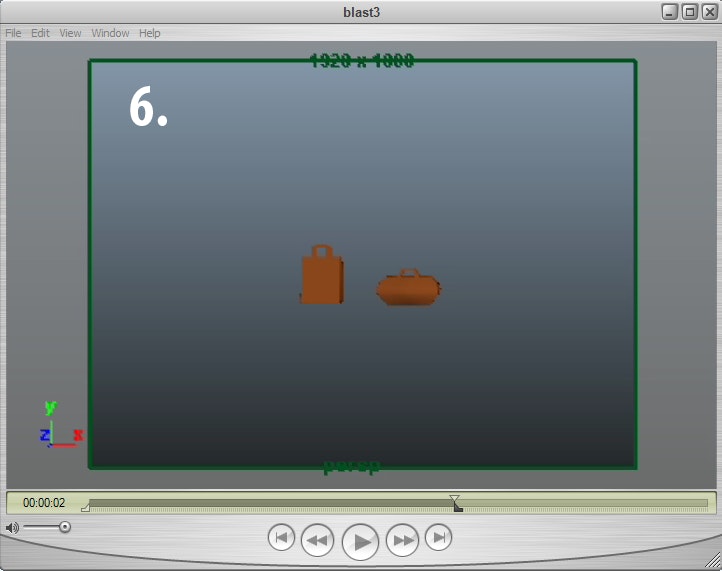
6. Reference footage.
7. Timeline - so you can scrub through the scene and see the timing of your keys.

Two other useful tips that I didn’t know when I started are:
- Selecting a control in the channel box and dragging the mouse on the viewport using the middle button to change the value, but also holding CTRL at the same time to get a more precise value. Normally, when you drag the mouse the value will increase or decrease by 1.0 but by holding CTRL the value changes by 0.1. It's useful for when you have a control that only has a max and min value of 1/-1.
- Holding the ‘\’ button and using the middle/right mouse buttons to zoom/pan on a locked camera. Then pressing ‘\’ again to snap back to the locked camera.
Did you find that helpful? Got any questions on Maya? Send them our way!
Anahita Tabarsi
Anahita is Brown Bag Films' Marketing Director, Digital & Social and drinks more than five coffees a day...
We Love Animation®
Brown Bag Labs is an exciting online space, brought to you by Brown Bag Films. We share great content for families as well as behind the scenes fun and tutorials from the Brown Bag Films team.
Get our great newsletter!
Get our great newsletter!