
Storyboarding Top Tips with Irene Martini #Tutorial
- Behind the Scenes
- Tutorials
- Kids & Families
- Posted by Eoghan.Lynch on November 04 2020
Share Tweet
Are you a budding storyboarder? Or looking to improve your skills?
Whether you're a novice or a pro, we've got just the tutorial for you! We caught up with our Dublin based Storyboard Artist, Irene Martini, to help bring you some tried and true tips direct from the artist.
Irene’s talents know no bounds and she has worked in Brown Bag across many of our productions including hit series Doc McStuffins, our animated holiday special Angela’s Christmas, and the very exciting, recently announced Karma’s World.
With all this talent and experience we thought it would be great if Irene could share some of her best tips with us, so scroll down and enjoy!
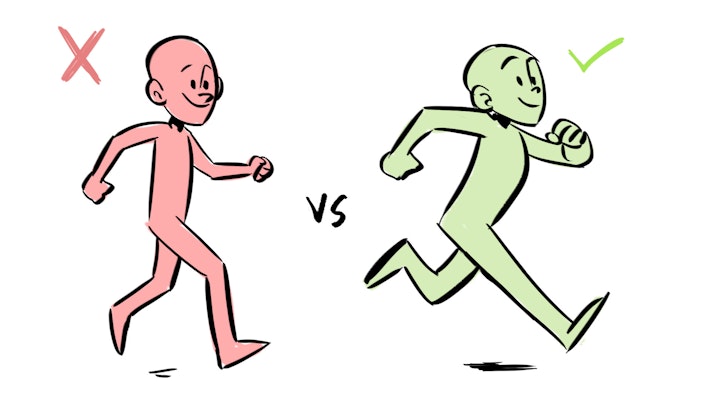
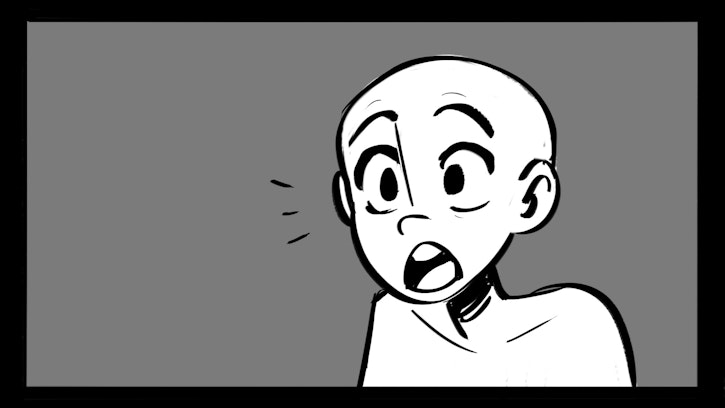
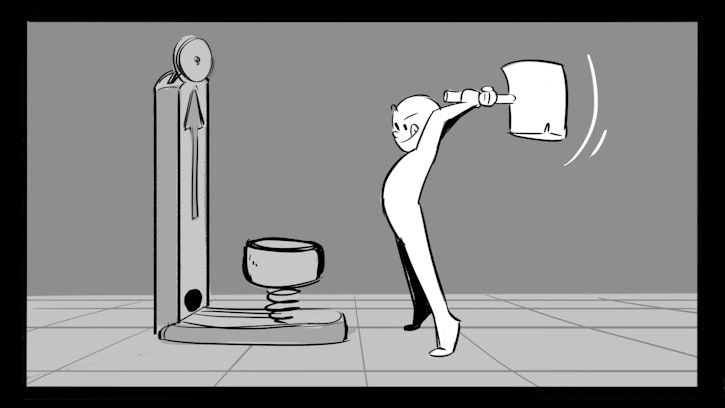
Acting with “!”
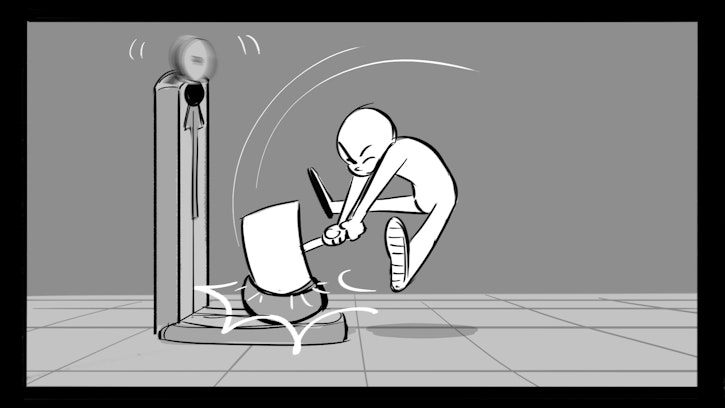
Storyboards are the blueprint for the whole chain of production that comes after. Everything must be simple to read and easy to follow. It is said that acting in animation should be done with the “!” (exclamation point), meaning that every action should be exaggerated.
So, it's not going to be just “Run”, but “RUN!”
“Angry” will become “ANGRY!”
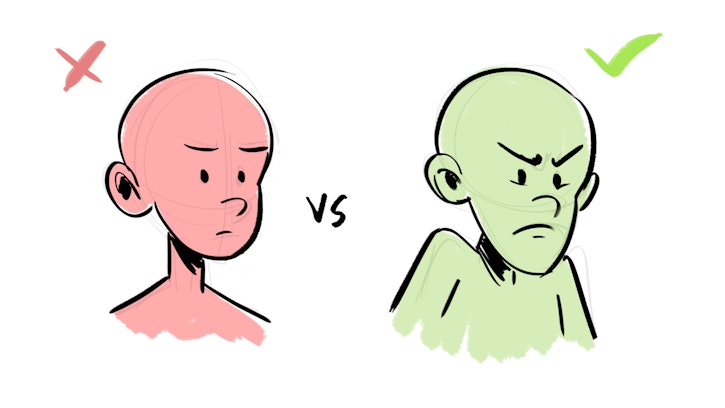
“Happy” will become “HAPPY!”

This way, animators, directors, and the whole team understand what the character is supposed to do or feel and it creates less confusion and an easier job for everyone.
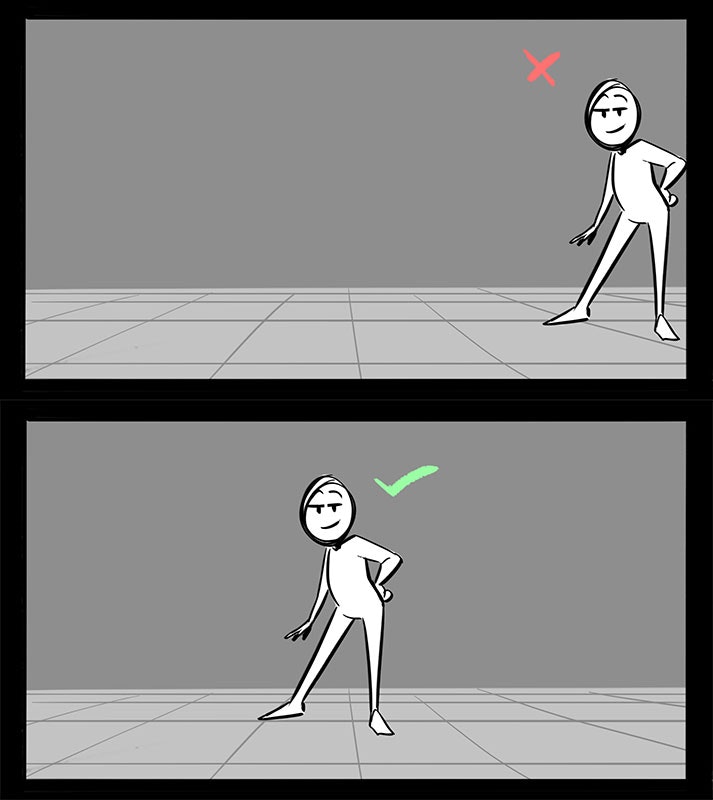
Staging with intent
Staging is the art of putting elements into a frame and having them make sense.
When creating storyboards, it's your duty to guide the eye of the audience to what is important.
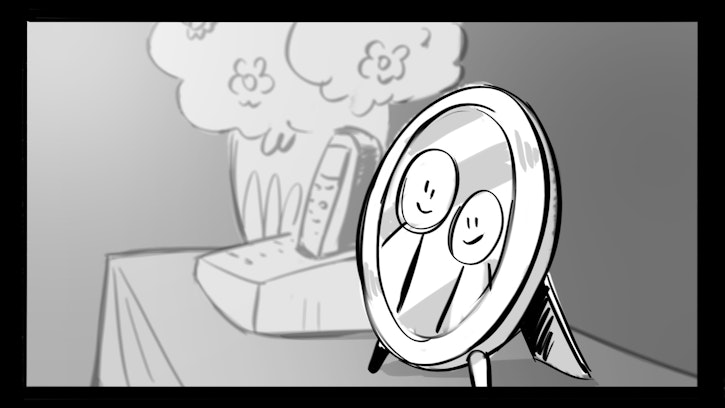
Now take a look at the composition below.
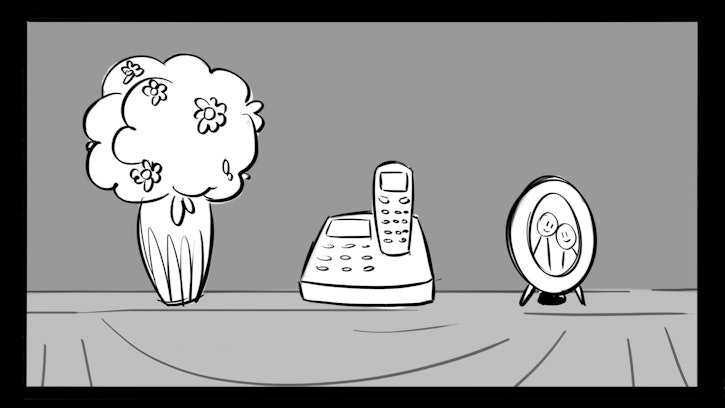
Where does your eye go? Which object is the most important in the shot?
We do not know, and everyone will have a different answer.
Now take a look at this composition.
It's the same scene, but this time, I wanted you to look at the framed picture first because it's the part of the story I want to come through. And afterward, you notice its surroundings.
What helped here was putting the focal point closer to the camera, making it bigger than the rest, brighter, more detailed, and the perspective will make it stand out from the rest and make it look more three-dimensional. In this way, the audience will not miss important details about the story.
Camera
It's the main tool of the cinematographer, the eye of the viewer, the window into the story. The camera is intrinsically connected to the staging also, things must work so that the camera can do the best job.
Some general rules for camera framings:
Don't have the action happen on the border of the screen, have it rather in the centre or on one of the thirds of the frame.
Use close-ups to show emotion and dialogue, these are the moments when the audience gets to know what the character is feeling.
Use wide shots to show big actions or to establish a new setting in the story, so that the audience will know where actions are happening, and it will be easier to immerse themselves in the story.

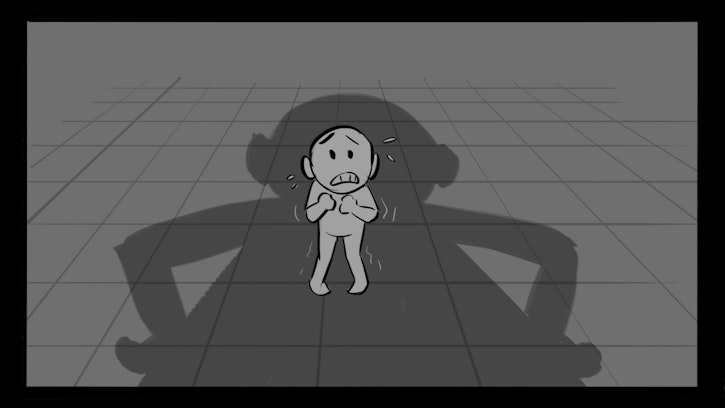
Cameras can convey emotions.
If you want to show a towering and intimidating character, you can drop the camera down low and watch the scene from the point of view of someone smaller/weaker.
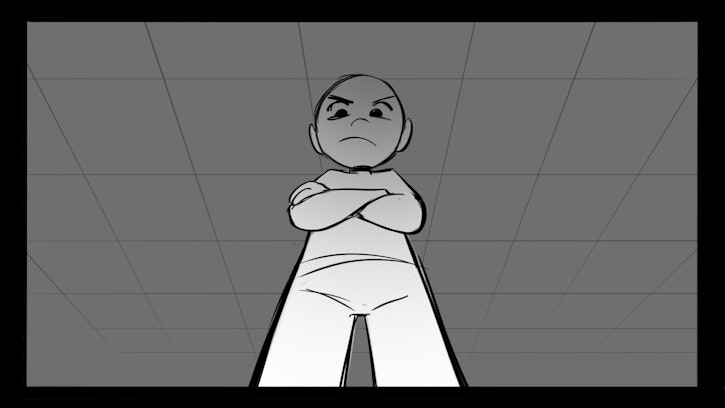
On the flip side, to show a character being weak and in a position of disadvantage, keep the camera looking down on the subject like it was in the eye of something scary, towering above and intimidating.
I hope you enjoyed my two cents on how to improve your visual storytelling!
These guidelines can help you with storyboards, illustrations, photos, etc. because everything can tell a story if the composition works!
Hope you enjoyed that as much as we did! If you want to check out some more of Irene's awesome work, you can visit her Instagram at @irenemartiniart.
Eoghan.Lynch
We Love Animation®
Brown Bag Labs is an exciting online space, brought to you by Brown Bag Films. We share great content for families as well as behind the scenes fun and tutorials from the Brown Bag Films team.
Get our great newsletter!
Get our great newsletter!