
Sci-fi Ship Model Texturing Breakdown #Tutorial
- Tutorials
- Kids & Families
- Posted by Anahita Tabarsi on February 13 2018
Share Tweet
Time for a tutorial! Today we're taking a look at the wonderful world of texturing with Lead Texture Artist Bo Chicoine. Bo takes us through a texture breakdown of his work on a sci-fi spaceship model based on a concept by Concept Artist Heng Z.
Bo: I was asked to run a texturing workshop at Ballyfermot College; the students were working on a VFX project using hard-surface models, and since I had been learning to use Substance Painter and had a strong grasp of hard surface, it seemed like the perfect opportunity to showcase some of the techniques I use.
To do this, I wanted to keep things as simple as possible but with the greatest impact, so I went to Artstation to find a concept.
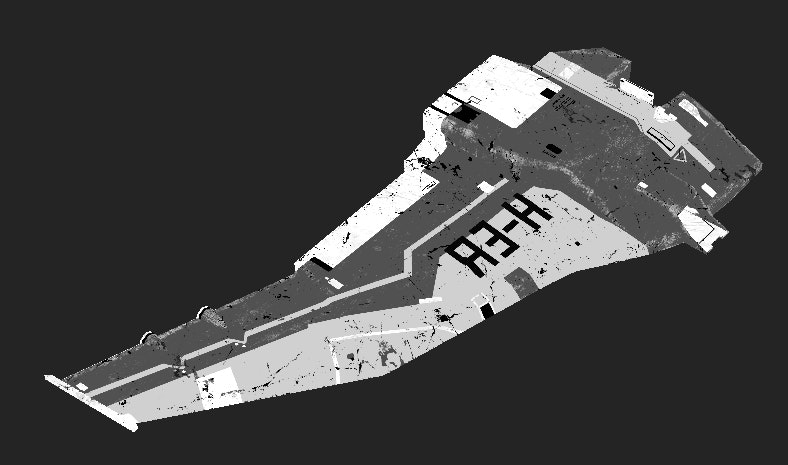
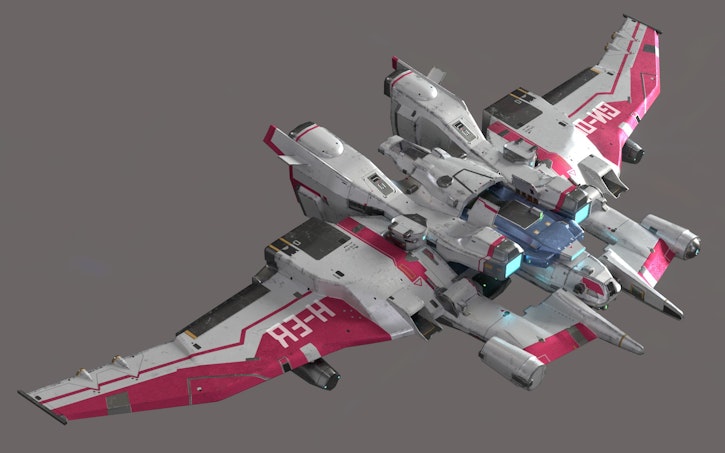
Due to the volume of incredible work available, it didn’t take me long to come across the following design by Heng Z:
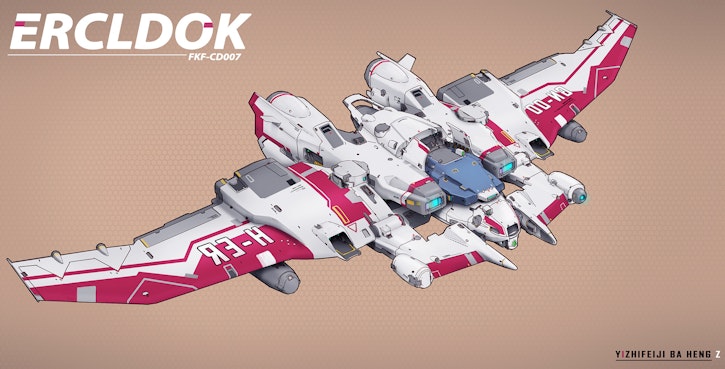
Because the design was already completed, I had my work cut out for me to model it. Some issues I faced were the fact that I only had a single perspective view, so getting the proportions correct was difficult and required a good amount of iteration.
I started by blocking out the basic shapes in Maya and quickly realised that I was getting lost in the details, so I took the concept into Photoshop and painted out some of the smaller ones I knew could be added using a normal or height map.
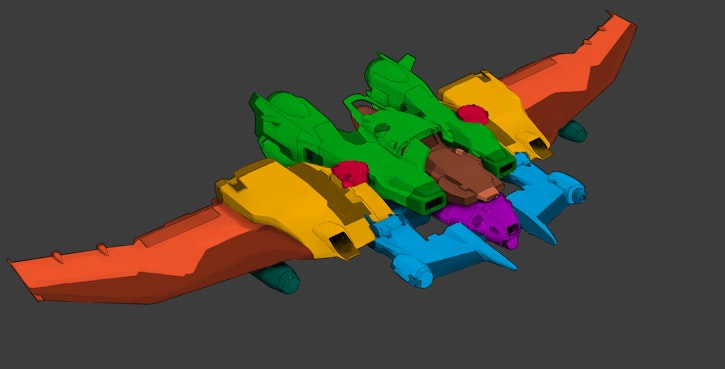
I colour-coordinated the larger chunks to make it easier to approach. This also allowed me to see where symmetry could be used in the model very clearly, reducing the amount of modeling down by approximately half.

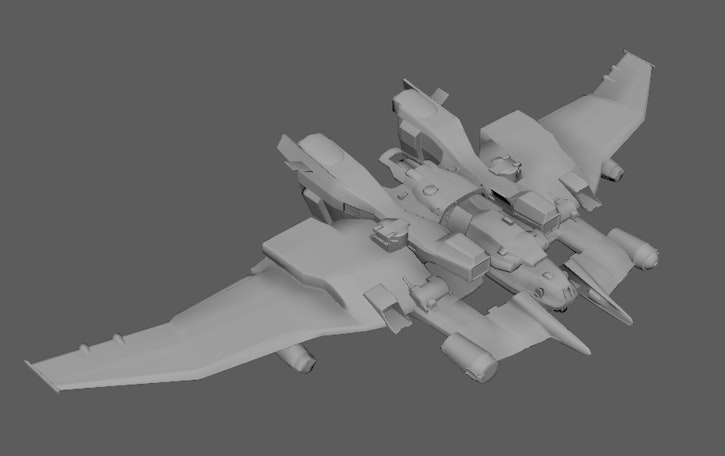
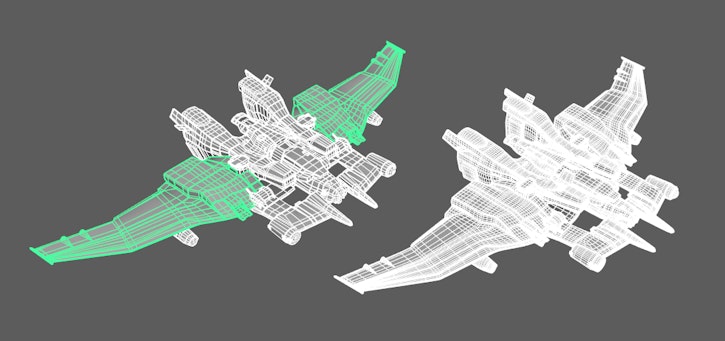
Once I was happy with the blocking, I started adding more edge loops to sharpen up the sides and give the model it’s final form:
With the model complete, I set about unwrapping it piece by piece. I only unwrapped the first half, and then mirrored the geometry again so I didn’t have to unwrap the entire thing:
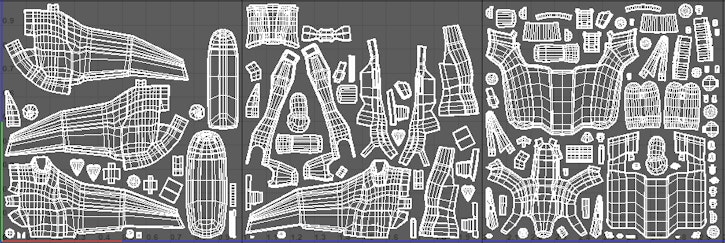
I used UDIMS because I wanted to make sure to get as much detail out of the model as possible. It took a little bit longer to set up in Substance Painter, but in the end, it was worth the trouble.
Once I was happy with the unwrap, I duplicated and subdivided the mesh, to get a high-res model that I could use to bake my normal map:
I find keeping yourself organised is very important and can save you a lot of headaches later! One of the biggest challenges was making sure I didn’t have to paint across UDIMS, so any object I painted on had to exist on one of the sheets.
Once I had the base-textures baked in Substance, I began blocking in the flat colours as per the design of the ship:
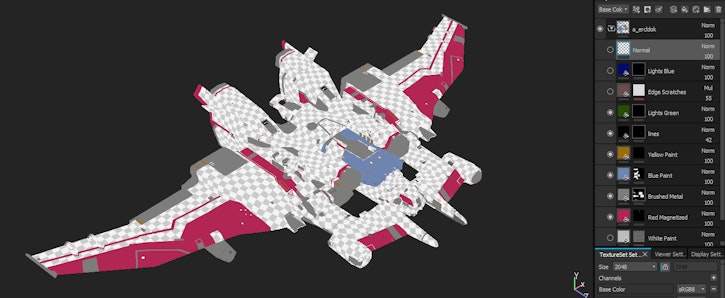
Utilizing Substances layers system in this proved extremely useful as I had more control over the individual properties of each layer. Once the masks were set up all I had to do was assign values for metal and roughness:
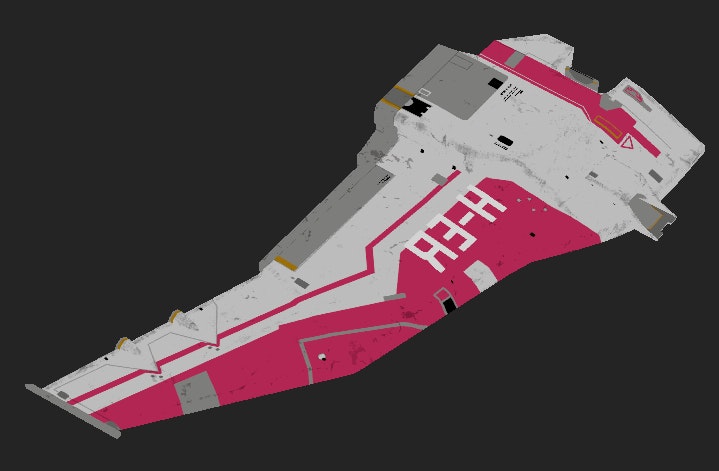
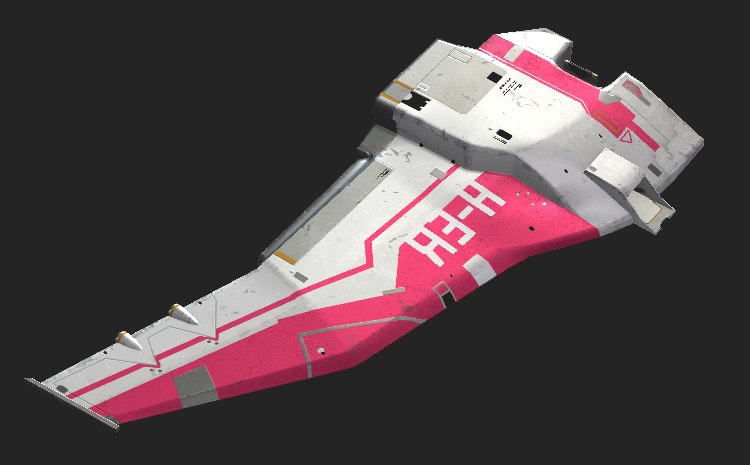
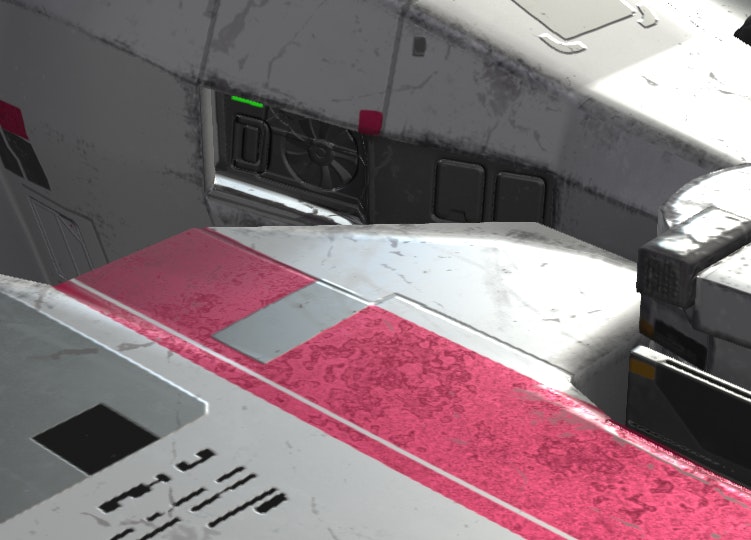
I used a dirt mask for the details and scratches, which helped give the model a sense of scale. Afterwards, I added emmisiveness to the areas that needed to glow:

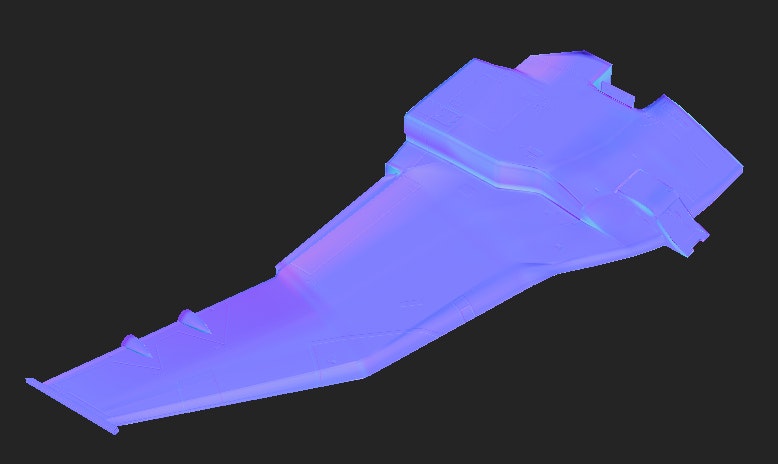
Then, I painted some smaller details into the normal map:
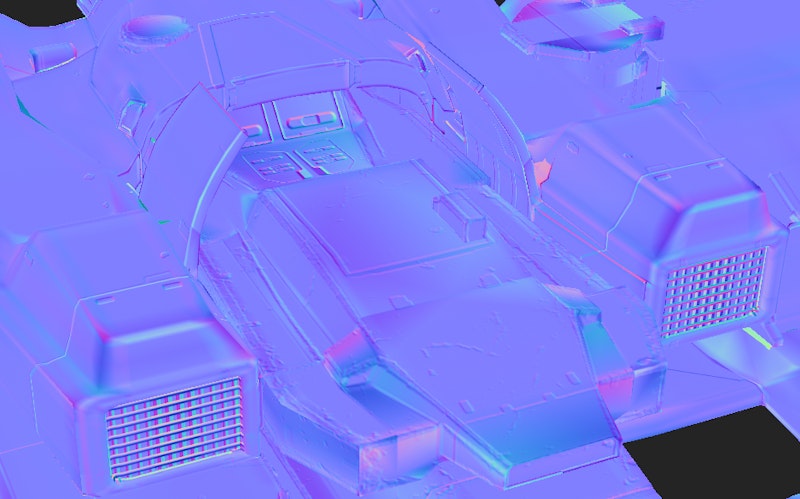
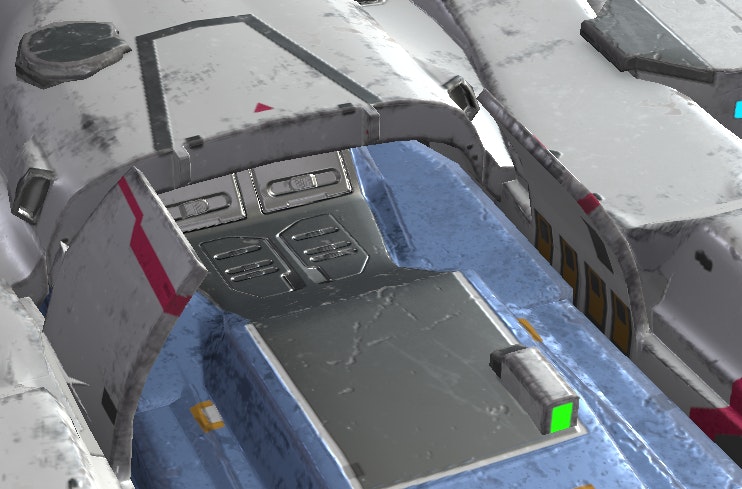
I made some renders using I-Ray, and here you can see the final result:
I continued tweaking the shaders until I was ready to export them and uploaded the entire model to Sketchfab:
Anahita Tabarsi
Anahita is Brown Bag Films' Marketing Director, Digital & Social and drinks more than five coffees a day...
We Love Animation®
Brown Bag Labs is an exciting online space, brought to you by Brown Bag Films. We share great content for families as well as behind the scenes fun and tutorials from the Brown Bag Films team.
Get our great newsletter!
Get our great newsletter!