
We've got a tutorial today from our 2D Designer Lydia Sanchez on the process of digital flat illustration!
Lydia: In this post I would like to show you my process for to creating a “false vector” in Photoshop using a flat design.
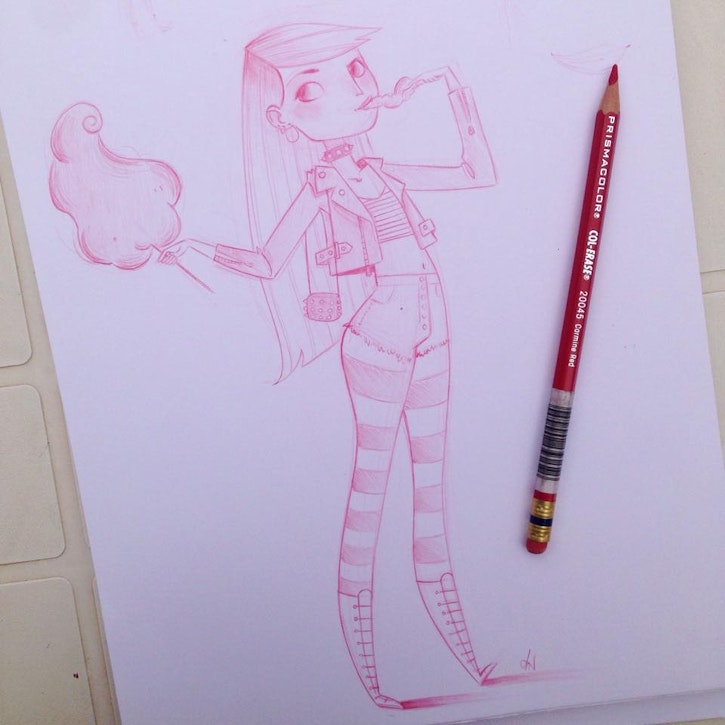
I love to work in flat design and mix clean and simple shadows with bright colours. For me it’s important to start with a pencil sketch, I often use red Colerase, it’s cleaner than graphite pencil.
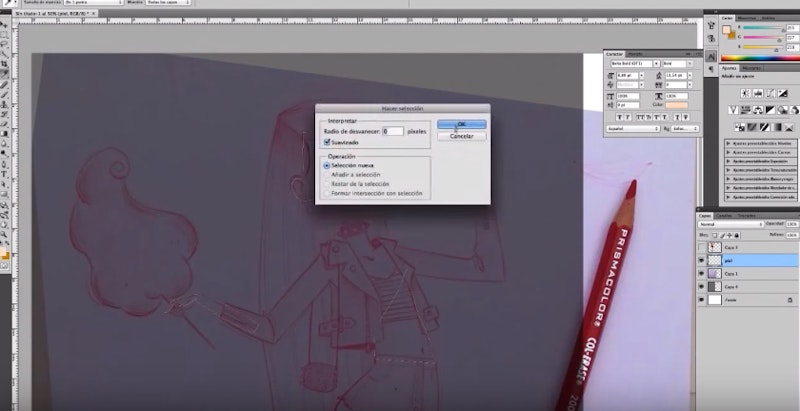
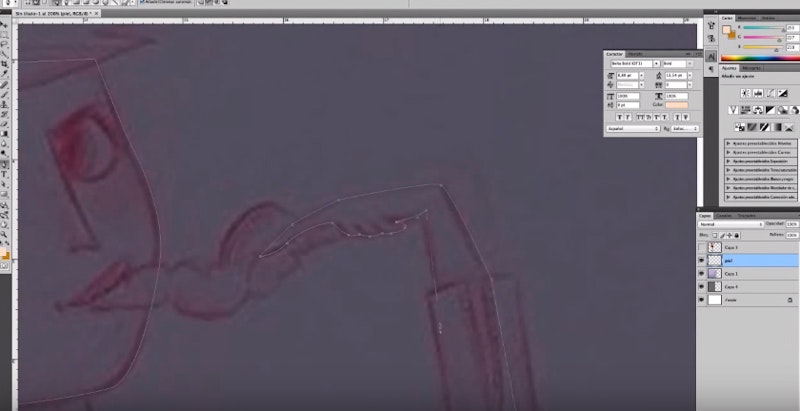
Open your sketch in Photoshop, and go to use the “Pen Tool”.
The Pen Tool performs like a “vectorial” shape but in Photoshop we work with .bmp so, if this shape is rescaled the image will be off.
It’s important to click on the shape joins for a perfect vectorial shape.
If you don’t know how to use the “Pen Tool”, you can paint directly using the “Brush Tool”.
It’s important to do a separate layer for each colour. This is because we can change the colour and do the shadows more quickly.
When we have a vectorial shape, we only have to select the layer in the bottom right panel and click “Make Selection” and fill with colour.
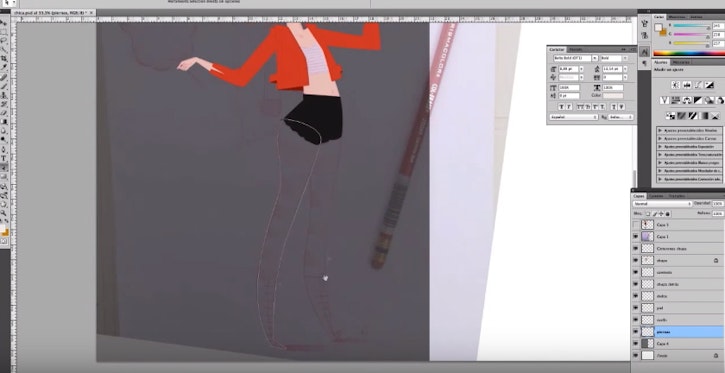
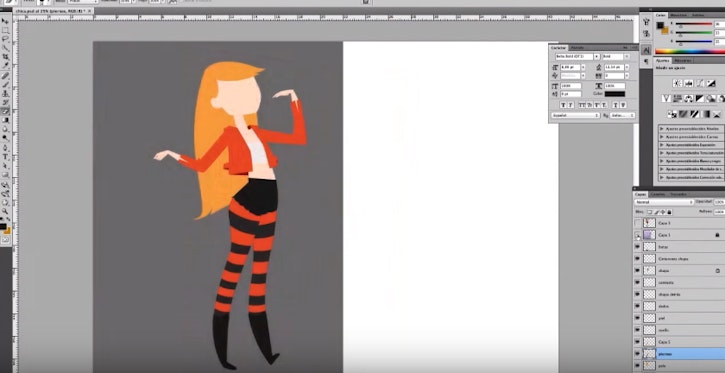
We need to first get the base solid colour blocked out, to help visualise the general colour palette.
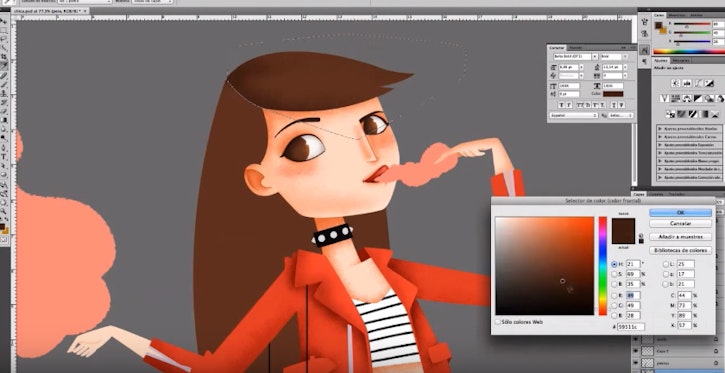
Then, we start adding shadows and highlights.
Following the above steps, we should have one colour in one layer. To “block” this layer, we press “Block Transparent Layers” on Layer Panel. So, we can add shadows cleanly.
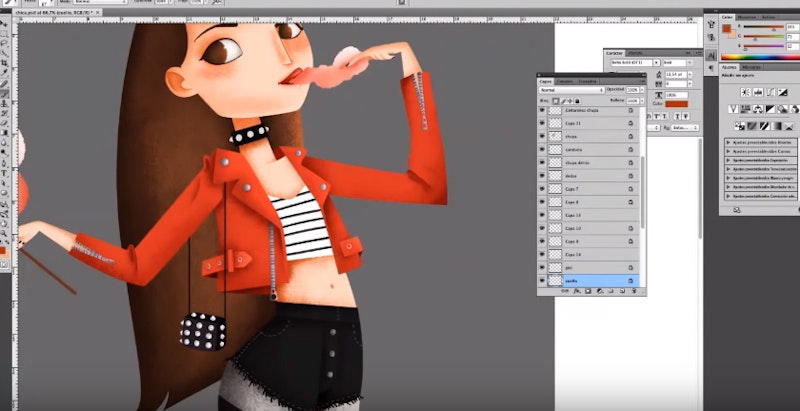
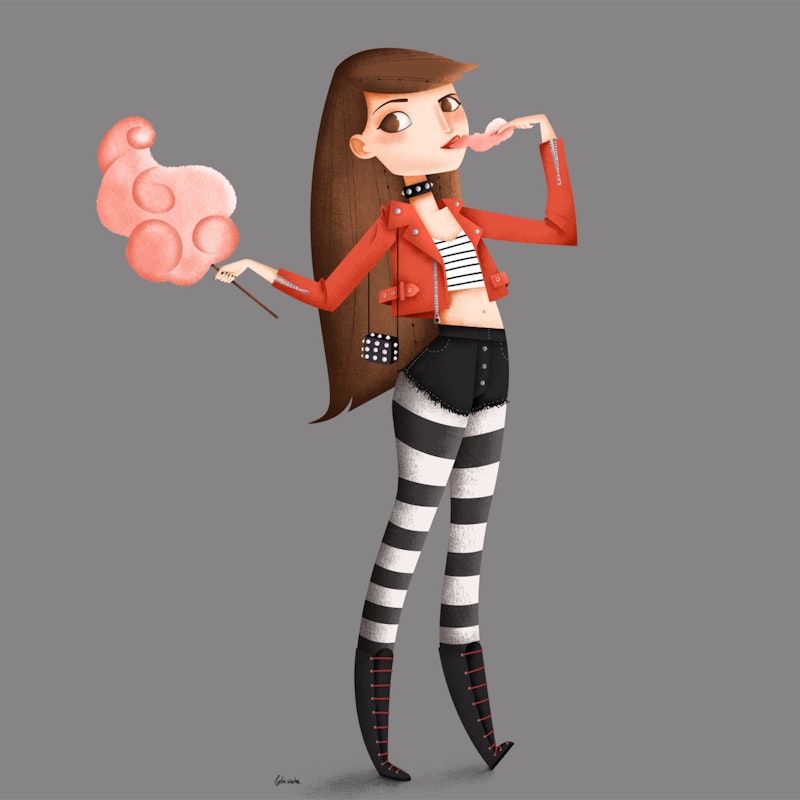
After that, we add the finishing touches and details to our illustration.
You can view Lydia's video tutorial for this below:
Anahita Tabarsi
Anahita is Brown Bag Films' Marketing Director, Digital & Social and drinks more than five coffees a day...
We Love Animation®
Brown Bag Labs is an exciting online space, brought to you by Brown Bag Films. We share great content for families as well as behind the scenes fun and tutorials from the Brown Bag Films team.
Get our great newsletter!
Get our great newsletter!