
Time for another tutorial! And, we know you
Matthew: The idea behind my latest piece of work was
I don't own a good camera,
I always try to avoid using downloaded pictures from google,
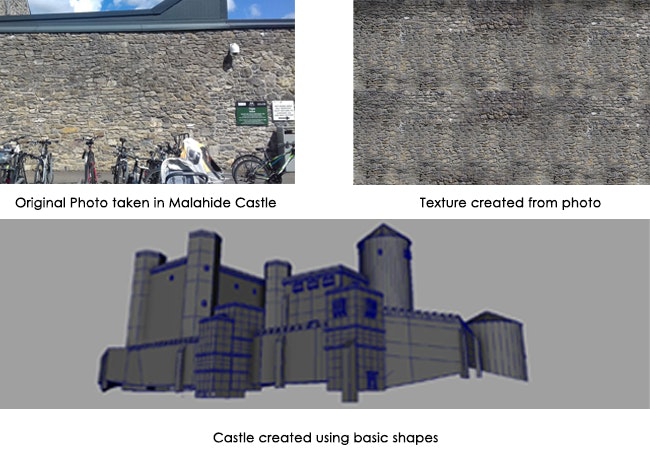
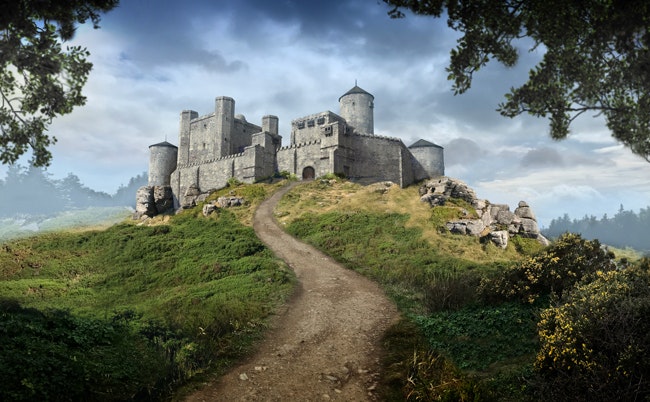
Below is a simple breakdown of how I went about creating the above digital matte painting.
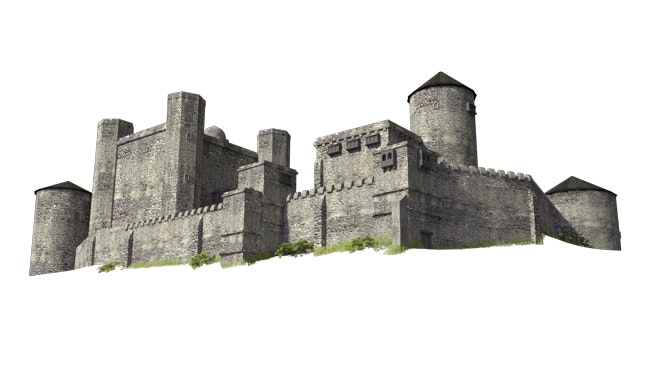
I created the castle in Autodesk Maya and I rendered it using
I created a single stone wall texture which I used to wrap around all the individual pieces of geometry hiding the seams on the far side of the models where the camera can’t pick them up. I used Adobe Photoshop to stitch all the 3D and 2D elements together.

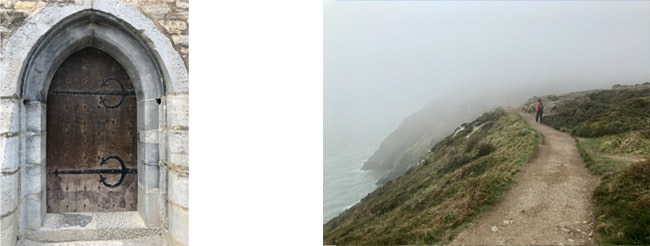
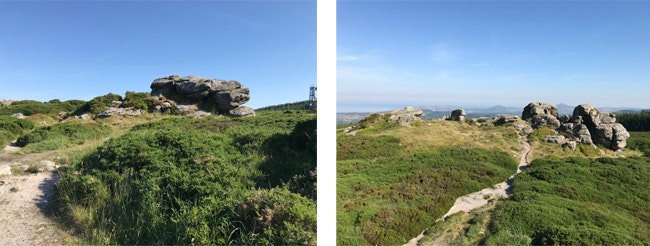
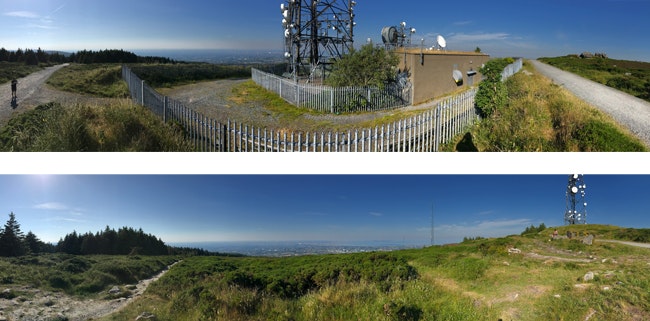
I used this door frame as a reference for the main entrance of the castle, Its scale was not exactly what I needed, however, a little Photoshopping gets it into the shape I need. And the pathway on Howth Hill was the starting point of the pathway leading up to the castle entrance. The angle of the pathway lent itself well to the height of the castle in my final render.
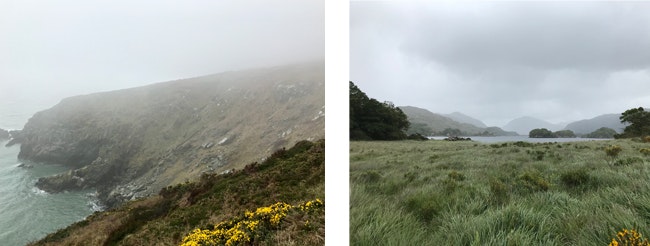
These photos from
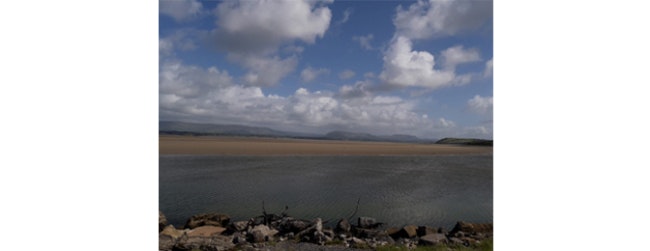
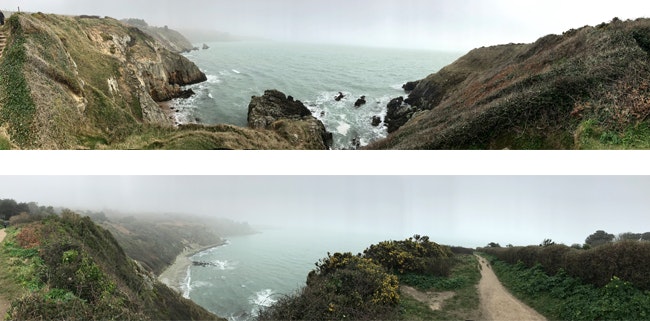
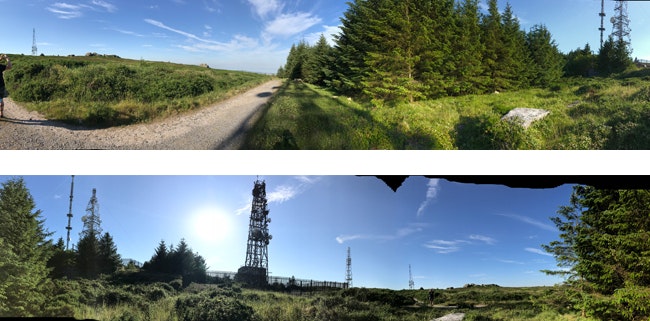
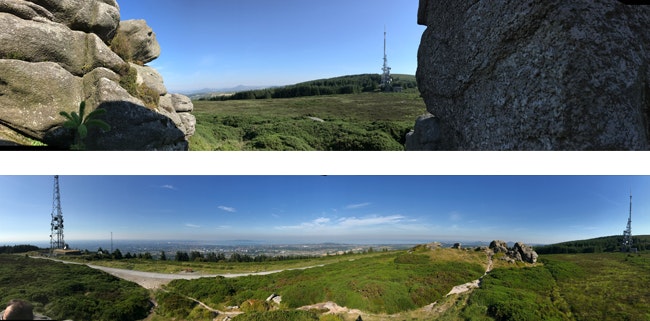
The images below are a collection of panoramic photos I used as a visual reference when creating my matte painting. I find images like this useful as they are
Panoramic photos are also very useful for image-based lighting when creating 3D elements for use within a matte painting.

There you have it, a Castle courtesy of our CG Supervisor, Matthew Lloyd, and if you'd like to see more of Matthew's work pop on over to his website: www
Eoghan.Lynch
We Love Animation®
Brown Bag Labs is an exciting online space, brought to you by Brown Bag Films. We share great content for families as well as behind the scenes fun and tutorials from the Brown Bag Films team.
Get our great newsletter!
Get our great newsletter!