
Steam Bot City #Walkthrough
- Behind the Scenes
- Tutorials
- Kids & Families
- Posted by Adrian Mulryan on February 11 2015
Share Tweet
This digital painting started as a quick lunchtime sketch. I had no plans for what to paint, and with limited time I like to start with photo scraps, combining different elements from multiple photos that I have gathered together over the years. I mostly use photos from CgTextures.com, copyright free photos, but for this painting I used some awesome photos taken in New Zealand by fellow Brown Baggers Ronan O'Neill and Lisa O'Connor!
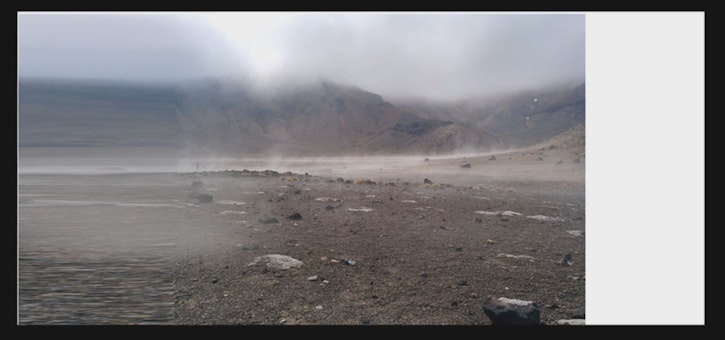
This technique mostly involves grabbing photos that I find interesting, throwing them onto the canvas, playing with the blending modes in the Layer palette, positioning, flipping and erasing until I find something cool. If a photo doesn't do much for me I delete it and grab another. This part of the process is really quick and loose, I am looking for interesting forms that I can work into later.
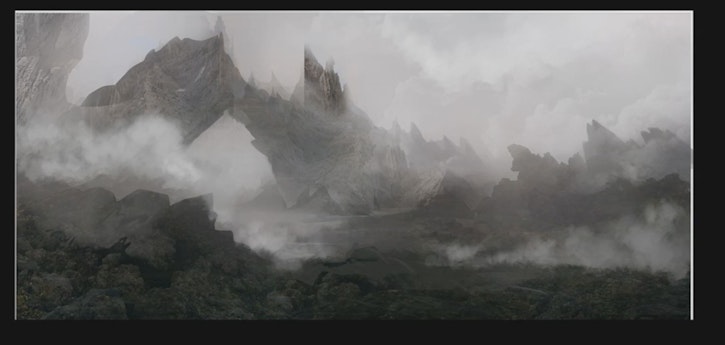
At this stage I have found an interesting shot - a lot of these forms are still visible in the final piece.
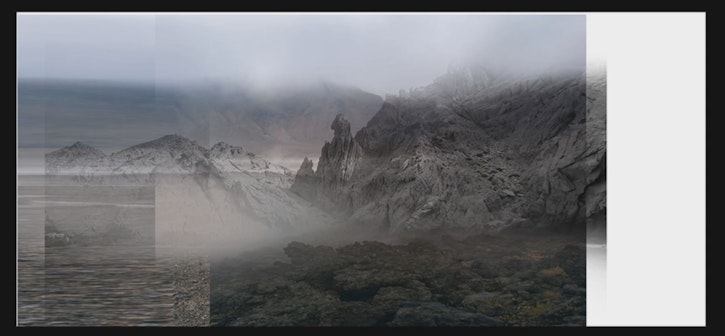
I add some mist and sculpt into the forms. I start using some custum brushes at this point. Here a cloud brush is used for the mist, there are a lot of time saving brushes available online, I use them on a daily basis as a texture artist. Any way of saving time is always great, especially when you are trying to do something during lunch!
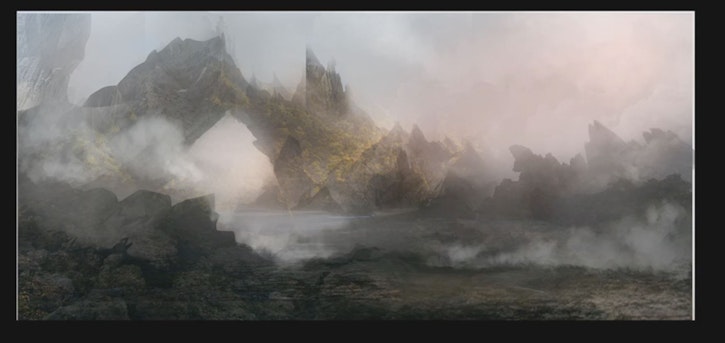
I introduce more photo elements, rock structures and clouds from various photos at random. I'm still unsure where I am going to go with all of this, but the journey is fun for me.
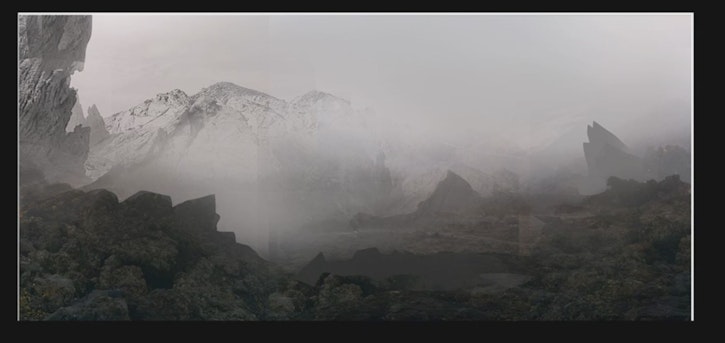
Below you can see the first hint of colour I've added. I do this by creating a new layer set to soft light, I experiment with different sky tones, I enhance the lighting with a colour dodge layer. This is one of my favourite things to do in Photoshop but it has to be used wisely, overuse of colour dodge can look very fake!

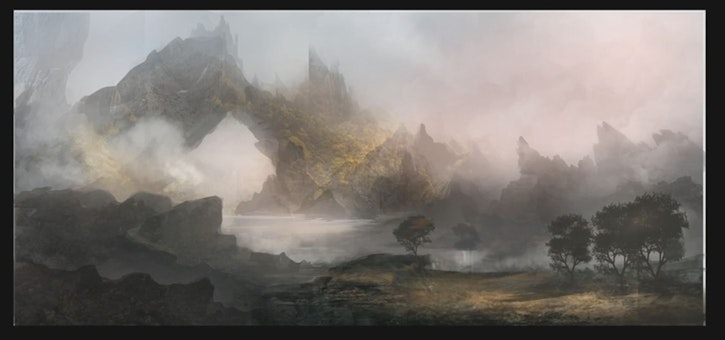
I continue with more photo and texture overlays, this is at about the 15-20 minutes mark. I feel the overall composition and tone is working nicely together. I often adjust the saturation on the photo scraps I bring in, so that they sit well into the atmosphere I am trying to create with the lighting and the mist.
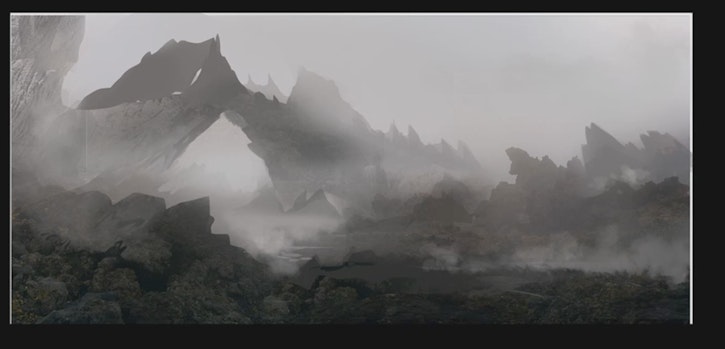
More overall lighting adjustments, refinement of forms and I add some foreground trees for scale. These are more custum brushes, basic tree stamps that you adjust to fit.
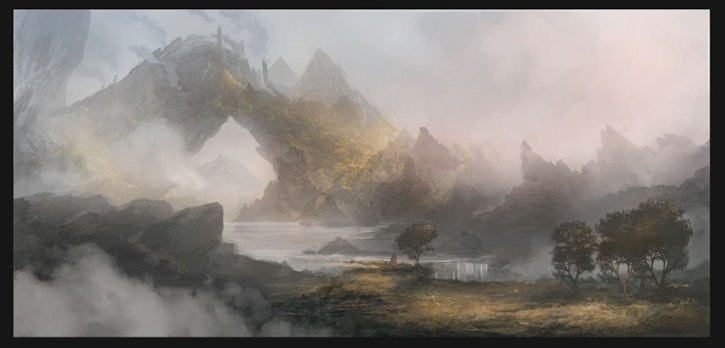
I increase the resolution of my canvas at this stage, more refinement of forms. I spend about an hour at this stage, adding in smaller details. I start to think about adding in a foreground character…
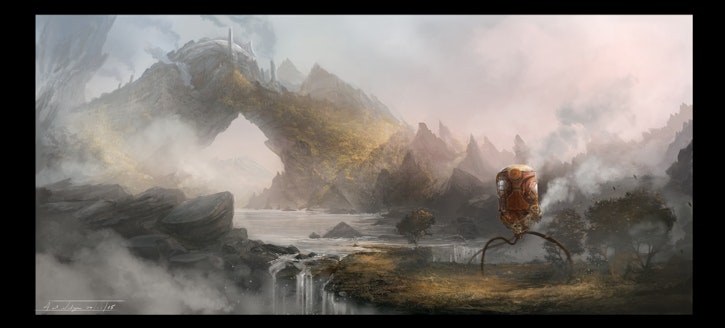
Being a fan of three-legged walker droid type things, I decide to go with this - a steam-punkish droid/vehicle… thing!

So after a few attempts at its legs I have my foreground character in place.

And the finished piece, I added a bit of motion blur to my droid/vehicle's legs, some blowing leaves and dirt behind him. It helps bring some life and movement to the painitng. Some final details here and there and I'm done!
Overall I spent maybe 3 to 4 hours on this using Adobe Photoshop CS5 and a Wacom Intuos 4.
After finishing this painting I decided to do a little character sheet for my droid. This was a lot of fun to do, especially trying a few different poses to give it some character!
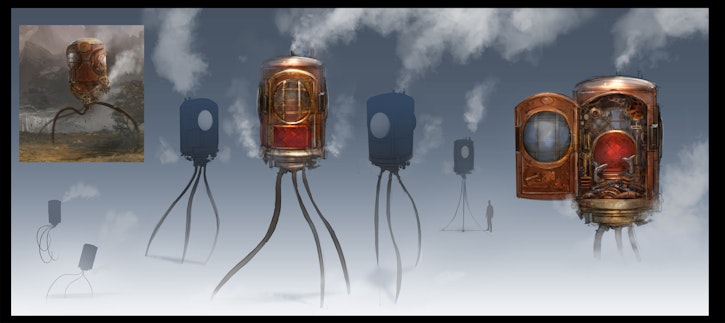
Now, to design the driver!
Adrian Mulryan
We Love Animation®
Brown Bag Labs is an exciting online space, brought to you by Brown Bag Films. We share great content for families as well as behind the scenes fun and tutorials from the Brown Bag Films team.
Get our great newsletter!
Get our great newsletter!